Birth of Venus Part II.

This project began with light as my inspiration. I had no engineering or electrical experience and hadn’t taken a STEM class since high school, but I knew I wanted to make a piece of art that glowed somehow. I came up with the idea of marrying old and new by making a sculpture of the goddess Venus out of light bulb filament.
The idea was that the sculpture would glow in a glass box giving it a modern feel, but at the same time, it would be reminiscent of an ancient statue in a display case— I would call it “Birth of Venus Part II” (an ode to Botticelli’s Birth of Venus).
When I told my art professor about my idea, he warned me the electrical complications of it all would likely make the project difficult if not impossible; he encouraged me to explore other options and lower my expectations for the project because he didn’t want to see me disappointed if it didn’t work out. He was right, there definitely were complications—they are detailed below—but the end result made them worth it.
The Plan for Birth of Venus Part II
The Filament
The basic idea was that I would make a sculpture of Venus (see sketch) out of lightbulb filament, plug in the light bulb, and it would glow. The classic material for filament is tungsten, but because of how brittle it was, I wanted to make sure I researched other materials as well before getting started.
I knew I needed something with a higher resistivity since lightbulbs are resistors. I also knew I needed something with a high melting point so the filament wouldn’t melt when it started to get hot and glow. The filament also should not oxidize too much at high temperatures.
I ended up ordering some Tungsten, but it ended up being so brittle that I could not change its shape at all without snapping it. Additionally, for the cost, I could only get an extremely thin version of the wire— so thin that when I opened up the package in the mail I thought they had forgotten to put the wire on the spool.
The other metal that fits most of the qualifications listed above is nichrome. Nichrome is the glowing red coils you see inside of toasters. Nichrome wasn’t my first choice because I wanted the light to glow more orange/yellow than red, but it was much more malleable than tungsten (and significantly more cost-effective), so I gave it a try. Below is a test run with nichrome.
The test run was successful. Now that I had decided on the material, I needed to figure out the correct length of the wire that the batteries could heat up. If it was too long it wouldn’t glow, but it couldn’t be too short, because then it would begin to melt and lose its shape.
I faced a similar dilemma with the thickness of the wire. The brightness of the light depended heavily on the gauge of the wire. It took lots of trial and error to figure out the right cut, but eventually, with lots of experimentation, it ended up working out, and I began bending it to the shape of the sketch below. Click on the images to learn more (click on the white dot in the corner if on mobile).


Would I need a Vacuum?
I was also banking on the fact that I would need to either create a vacuum or remove the oxygen from the air to prevent the wire from burning up immediately. Similar to how you need oxygen to get a fire going and burn through wood, and if you remove the oxygen, the wood stops burning—it was a similar concept with the wire. The wire would get molten hot but without oxygen, the wire would not burn through immediately, which was the goal since I wanted my light bulb to last for more than a few seconds.
However, my switch to nichrome ended up helping me in more ways than one. I no longer needed to create a vacuum because it does not get as hot at tungsten, so it wouldn’t burn through like exposed tungsten would. Through my experimentation, I discovered that the nichrome actually glowed brighter when exposed to air versus when it was contained, so I decided to allow air into the bulb by drilling a hole into the bottom.
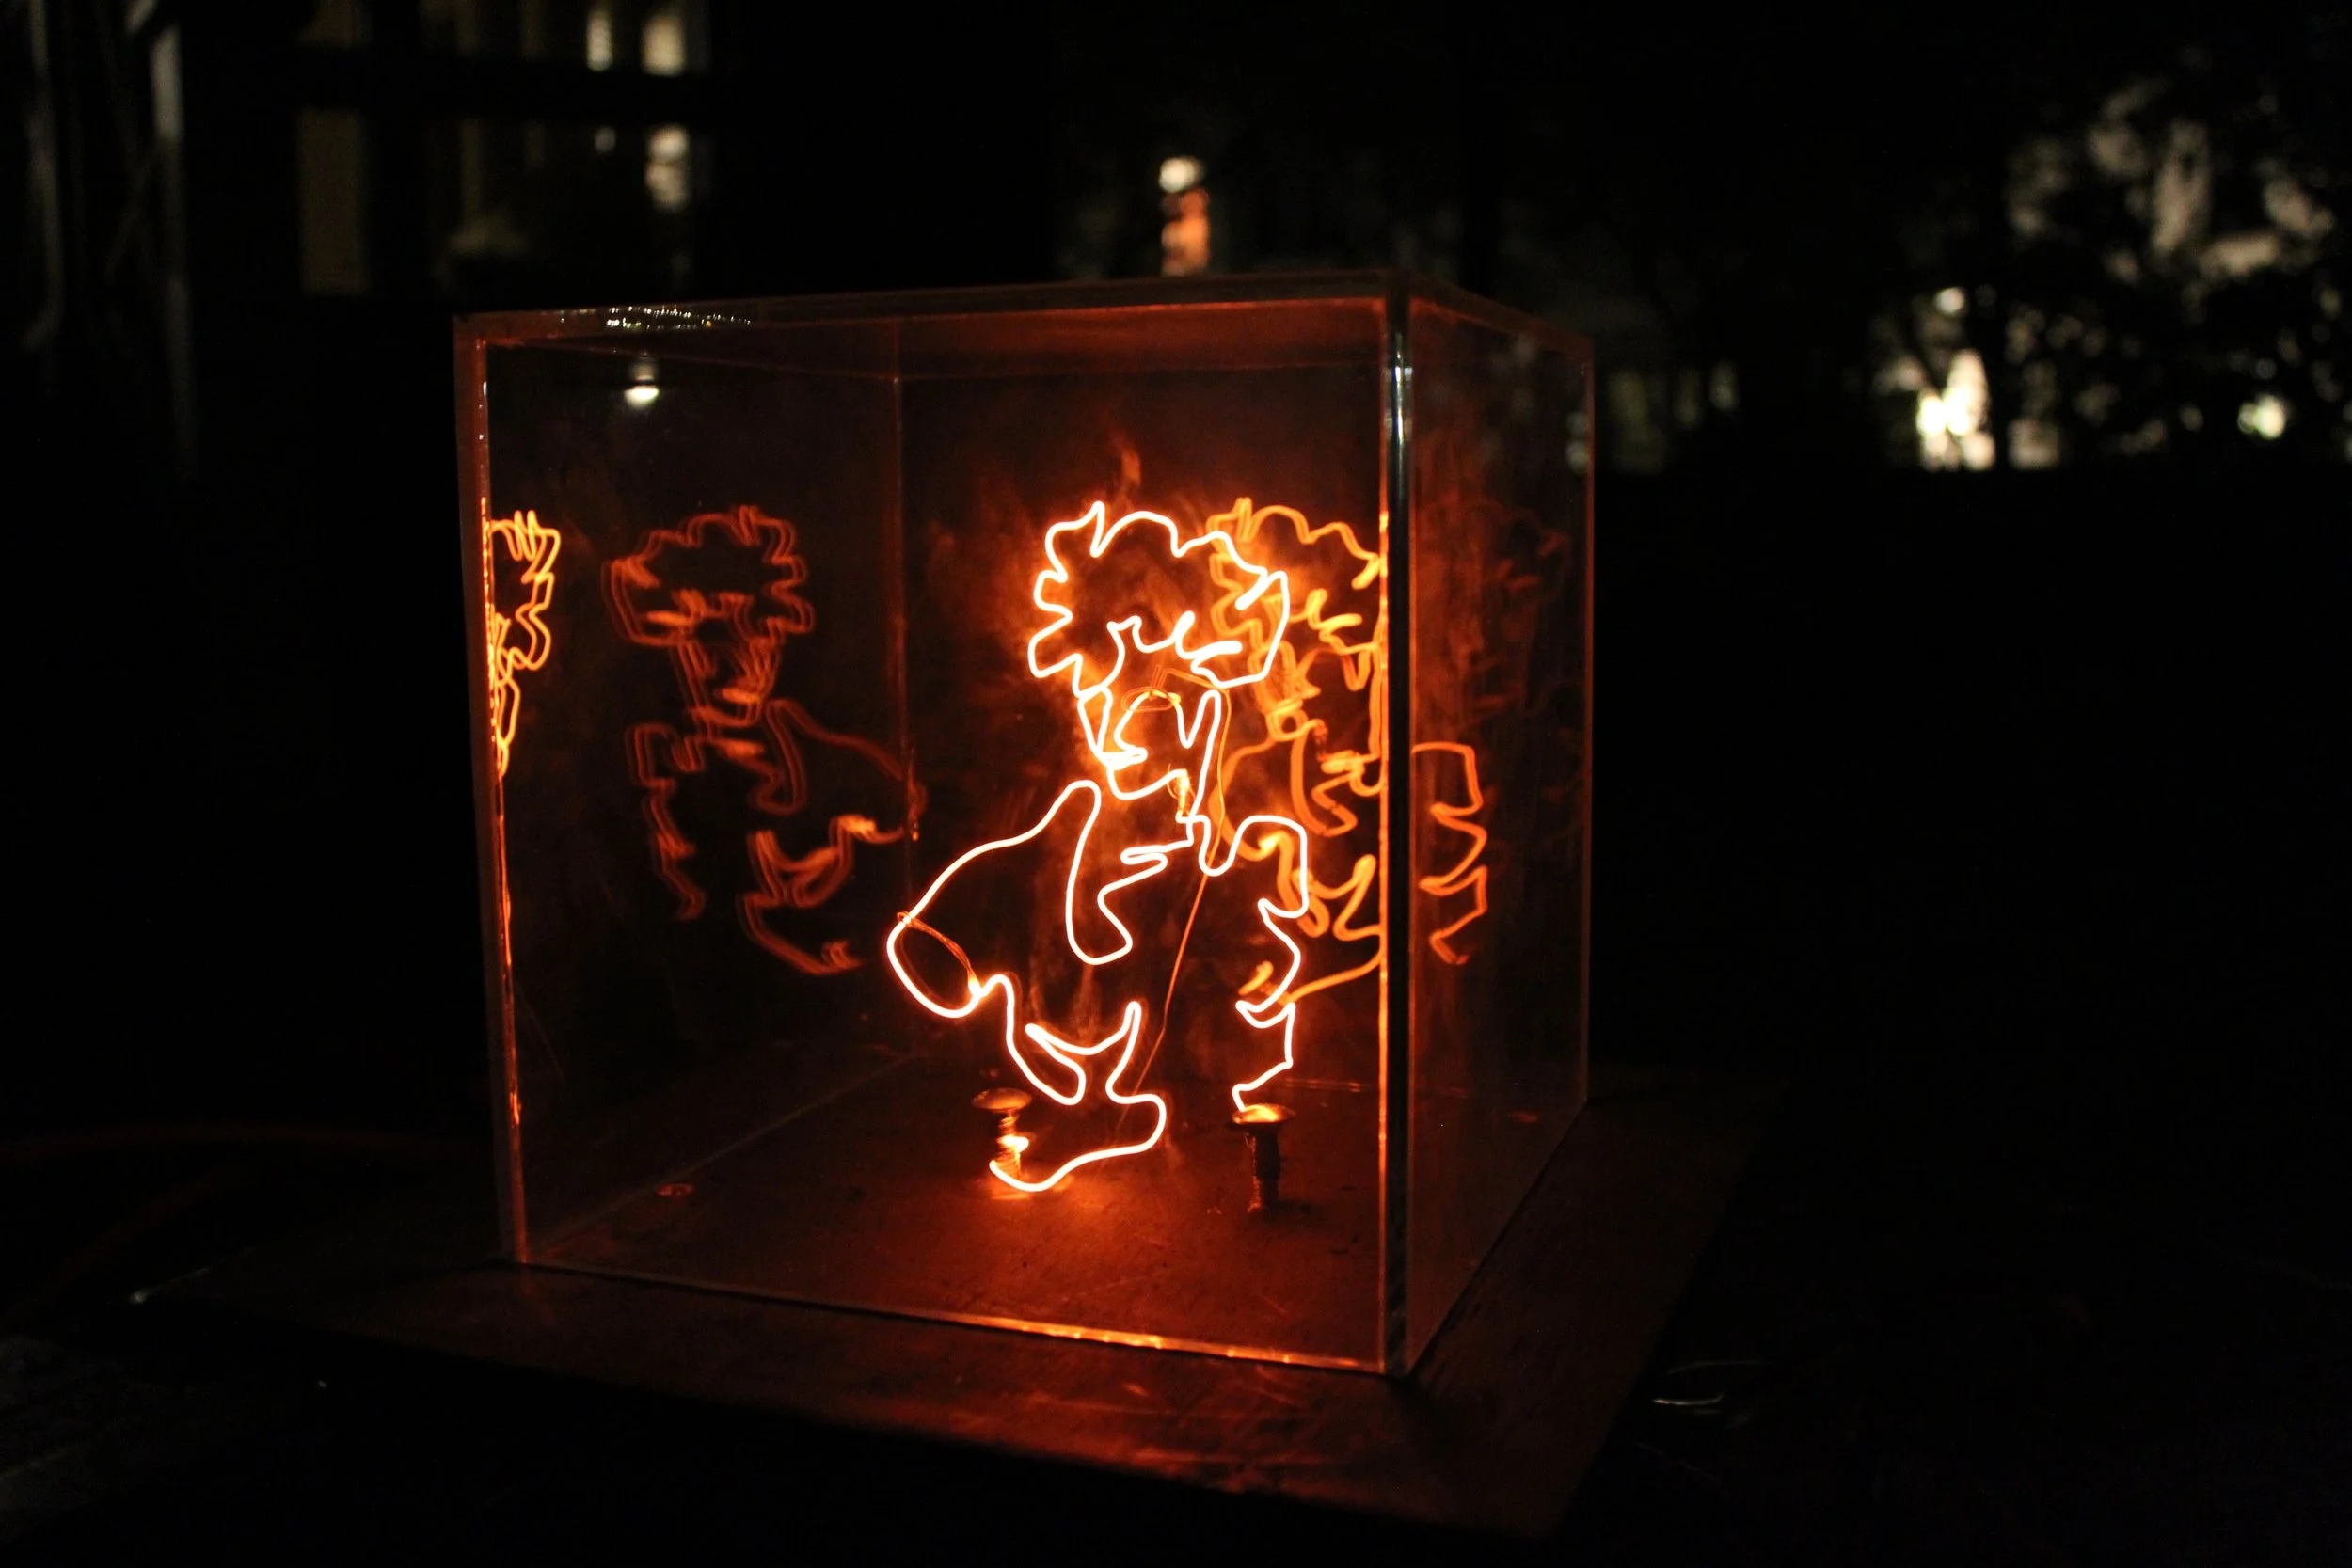
Turning it on
The next thing I did was connect three car batteries in parallel alignment (to increase current), attach the glass box, and connect the jumper cables to the metal nodes underneath the lightbulb. Once I did this, the filament lit up and Venus glowed beautifully.